Set up Embed
Get your installation ready to show the embed: a website, a partner key, what customers get, and your look.
This page needs your own installation with an Embed license.
You need
- An Embed license
- Loaded on your installation. Licenses come from GoRunner. See Your license.
- An instance-wide platform admin
- With two-factor on. Changes on these pages ask for your two-factor code. One code covers 10 minutes.
- One https address
- Your installation’s
PUBLIC_URL, on https, with sign-in on. A page on https can’t show anything from an http address. Behind a proxy or ingress, see For Embed.
With the license loaded, the Platform sidebar gains an Embed group: Partner keys, What customers get, Branding and Notifications.
Check what is missing
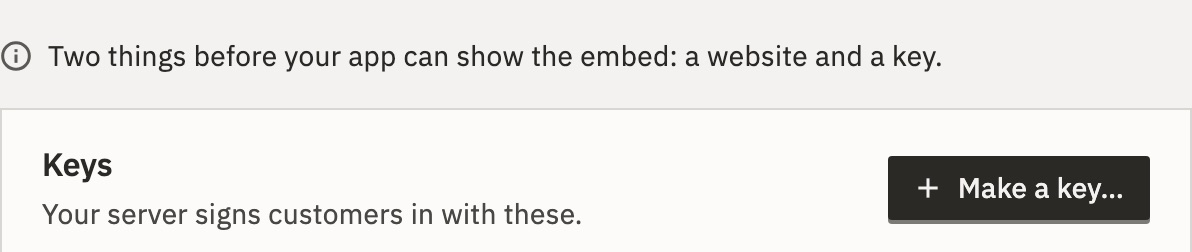
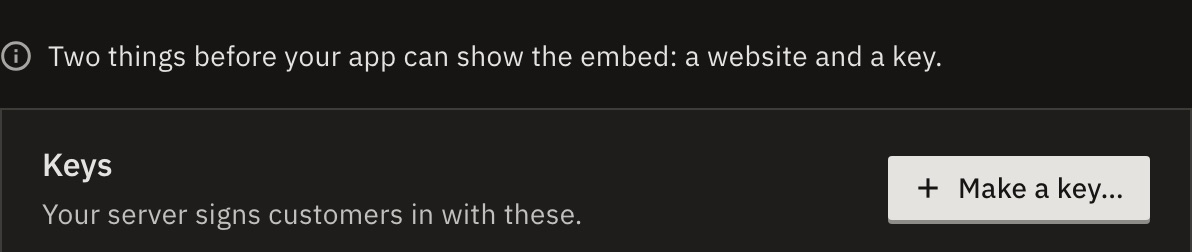
Open Platform › Partner keys. Until the embed can show anywhere, a line at the top says what is missing.
Allow your app’s website
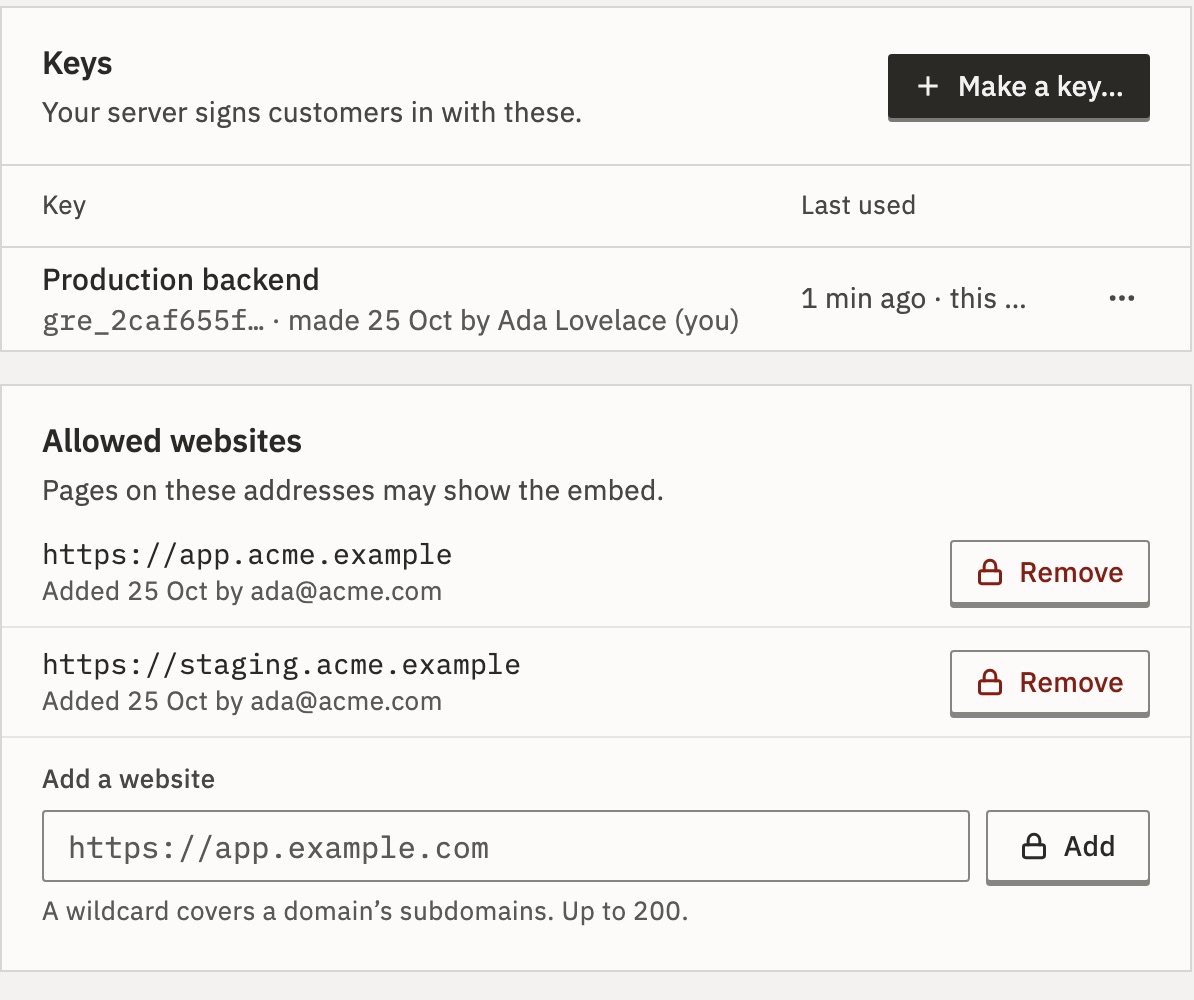
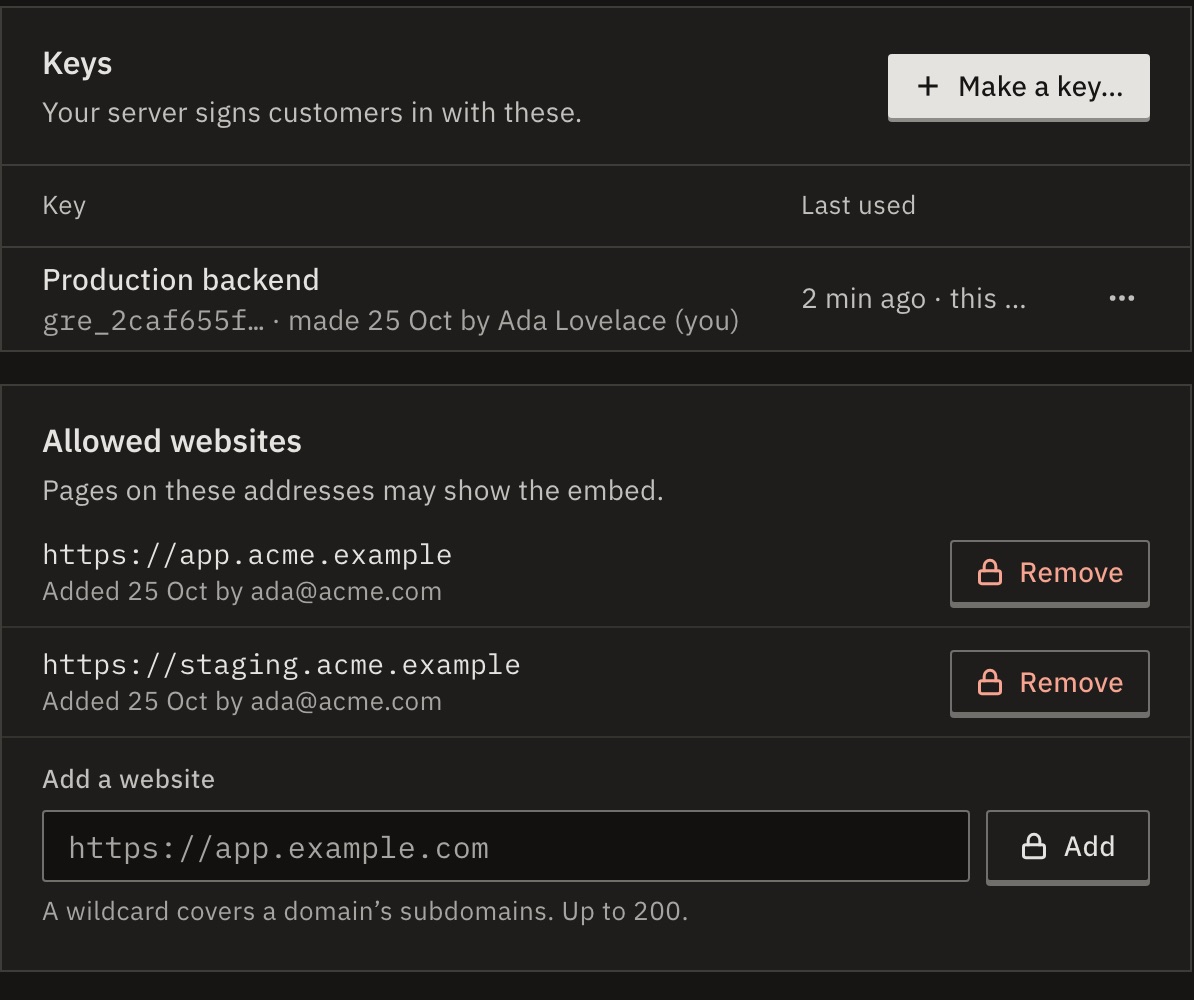
- Under Allowed websites, in Add a website, type your app’s address, such as
https://app.example.com. - Press Add and enter your two-factor code.
You should see “Allowed https://app.example.com. Pages there can show the embed now.”
- The address
- The scheme, the host and the port, exactly as the browser shows them, with no path.
http://localhost:3000andhttp://127.0.0.1:3000are two websites. Plainhttpworks only forlocalhost,127.0.0.1and[::1]. - A wildcard
https://*.example.comcovers subdomains at any depth, neverhttps://example.comitself. A wildcard over a shared domain, such as*.vercel.app, is refused.- How many
- Up to 200.
Your server can keep this list too, with its key: Allow a website and Stop allowing a website.
What if customers open my app on domains of their own?
Your server allows each customer’s website for that customer only, with Allow a website for one account. Each is an exact address, up to 20 a customer, and shows only that customer’s sessions. Removing one ends their sessions on it at once, unless your own list still allows it.
They show read-only under Added by your server for customers.
Make a partner key
Your server signs customers in with it.
- Under Keys, press Make a key….
- Name it after where it is used, such as
Production backend. - Under Allowed from, list your servers’ IP addresses or ranges, one per line. Leave it empty while you test: then any address may use it.
- Press Make the key and enter your two-factor code.
- Press Copy the key, store it in your server’s secrets, then press Done.
Warning You see the key once. If it wasn’t copied, revoke it and make another.
What if Make a key… can’t be pressed?
An installation has at most 20 working keys: “20 keys is the most. Revoke one first.” Revoked and ended keys stay listed under Revoked keys.
Choose what customers get
- Open Platform › What customers get.
- Press a row, such as Pages. Its editor opens beside the table.
- Turn switches on or off, then save with your two-factor code.
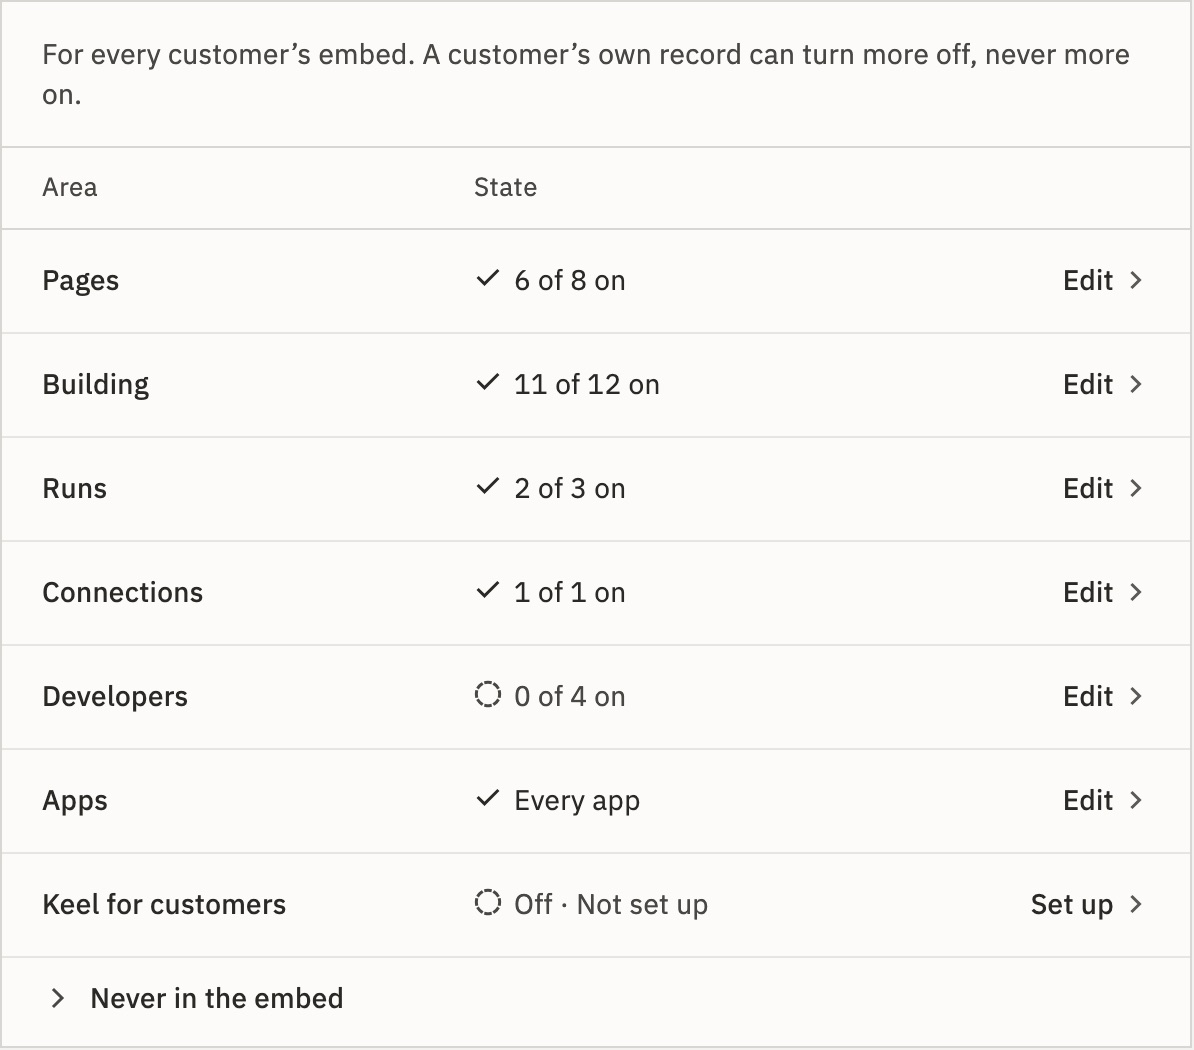
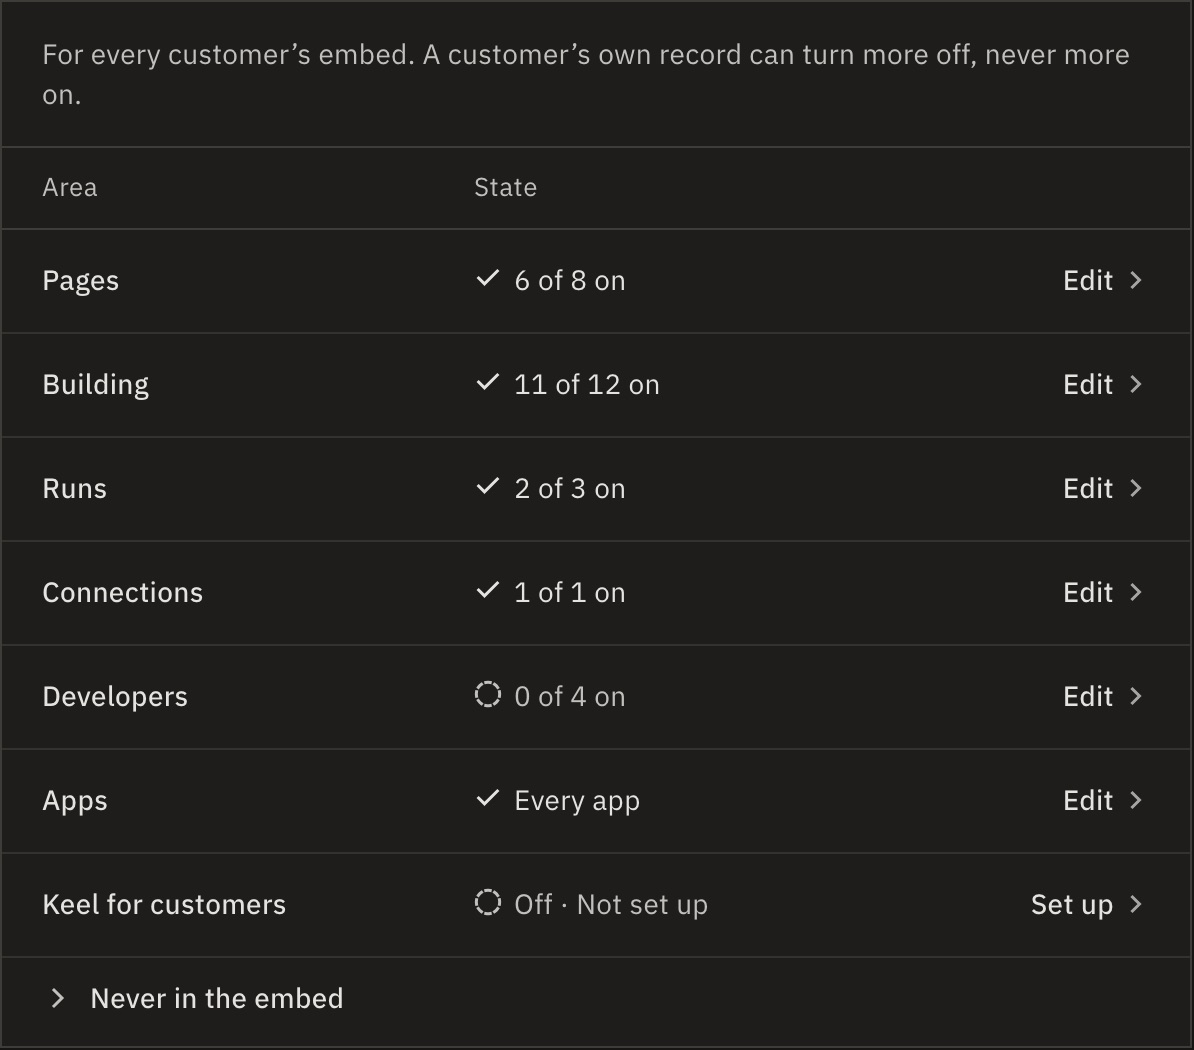
The defaults are a safe start. Overview, Import and export, Delete runs and the Developers switches start off. See Switches. Apps narrows the apps customers may use, and Keel for customers gives them the assistant.
Set the look
- Open Platform › Branding and pick a preset under Look: Paper, Soft or Crisp.
- Under Names, enter your Product name and Company name.
- Add your logo and colors, and check the preview’s Embed tab.
- Press Save. Nothing changes for anyone until you do.
For every setting, see Appearance and branding.
Hand over to your developer
- The address
- Your installation’s, such as
https://automations.example.com. - The key
- Through your password manager, never in a chat or an email.
- The code
- Quick start. Add the embed to your app, on Partner keys, shows the same two pieces of code with your addresses filled in.
See it as a customer
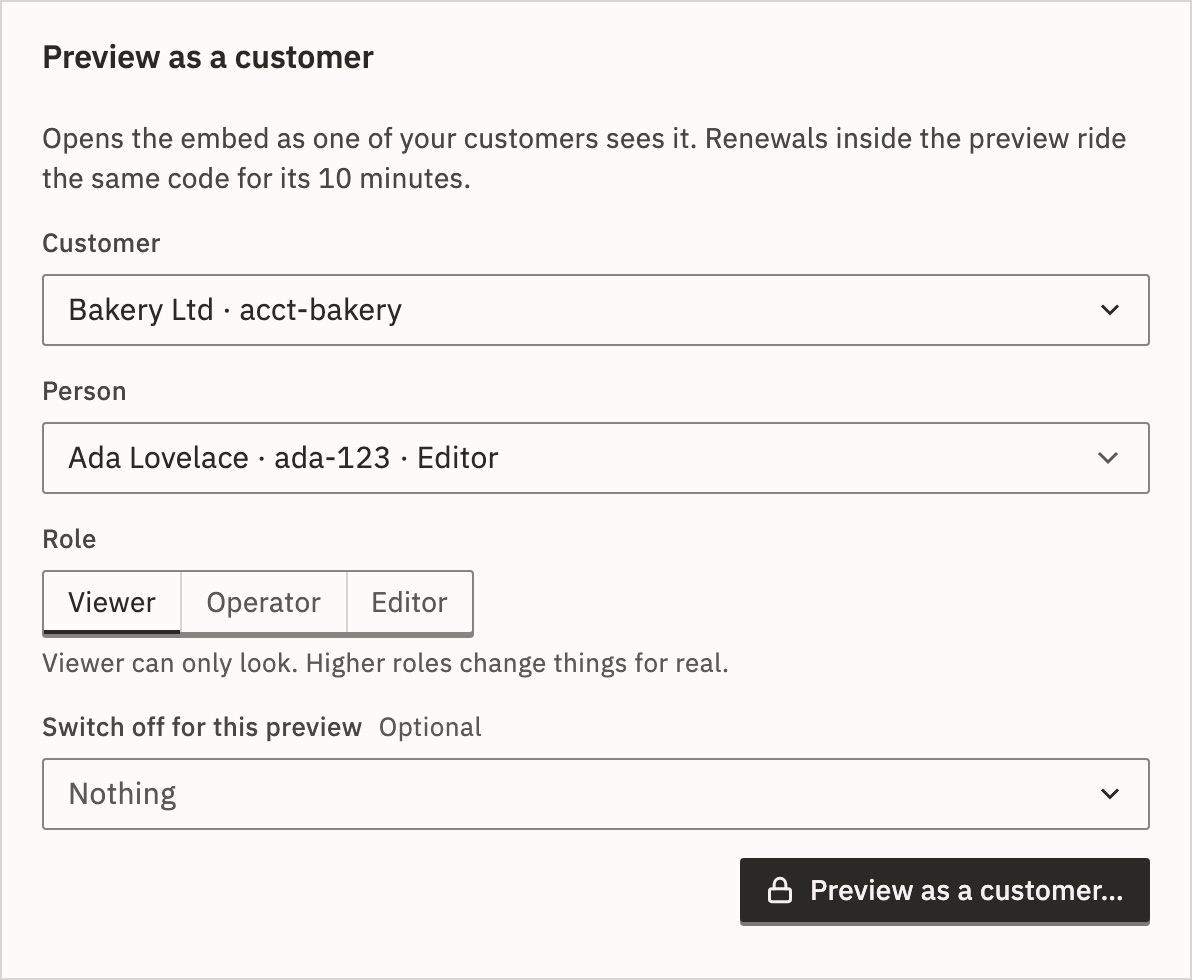
Once your server has signed someone in, use Preview as a customer on Partner keys.
- Pick the Customer and a Person.
- Choose a Role no higher than the person’s own. It starts at Viewer, which can only look.
- Optionally, turn things off under Switch off for this preview.
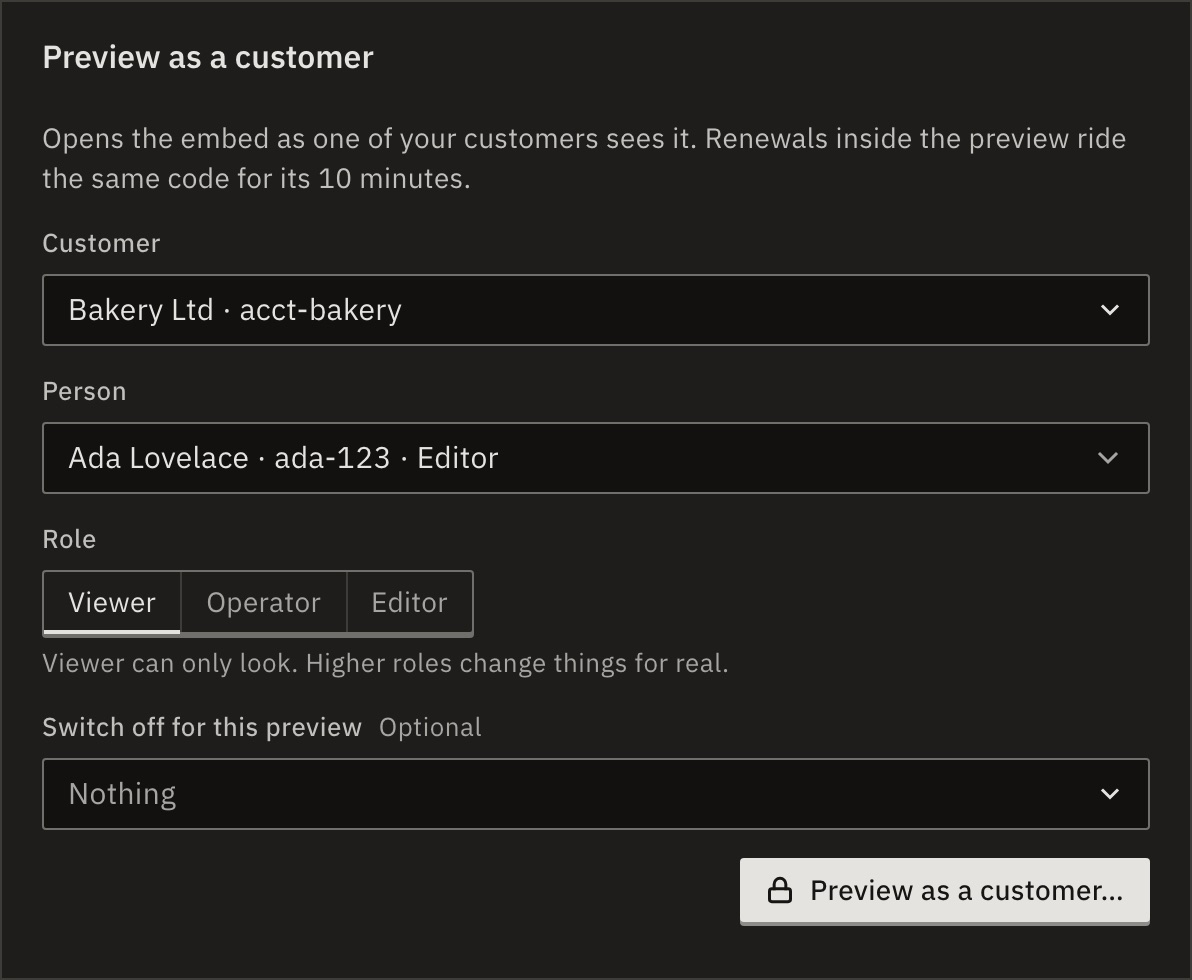
- Press Preview as a customer… and enter your two-factor code.
Is a preview real?
Yes. It is a real session in the customer’s account. As an Operator or Editor, what you change is real, and the account’s audit log records it as yours.
It lasts while its page is open, and ends with End preview or when you leave. After your code’s 10 minutes, a renewal asks for the code again; closing that prompt ends the preview.
It lists only people your server has already signed in.
Related
- Quick startYour server’s code and the embed in a page · 15 min
- Platform screensEvery part of these four pages
- SecurityKeys, websites and incidents
Checked against 12d85b3b